


If you’ve ever walked along a beach, you’ve probably found yourself collecting shells without even thinking about it. They’re little marvels of nature—each one unique and full of character. But what happens after you bring them home? Instead of letting them gather dust, why not turn them into something special? This guide offers 101 creative shell craft ideas, from home décor to wearable art, to help you make the most of your coastal finds. Gather your glue gun, your imagination, and let’s get started!


Shell Picture Frame:
1. Find a plain wooden or plastic picture frame.
2. Clean and dry your shells.
3. Use hot glue to attach shells around the edges of the frame.
4. Optional: Add a clear varnish for a polished look.

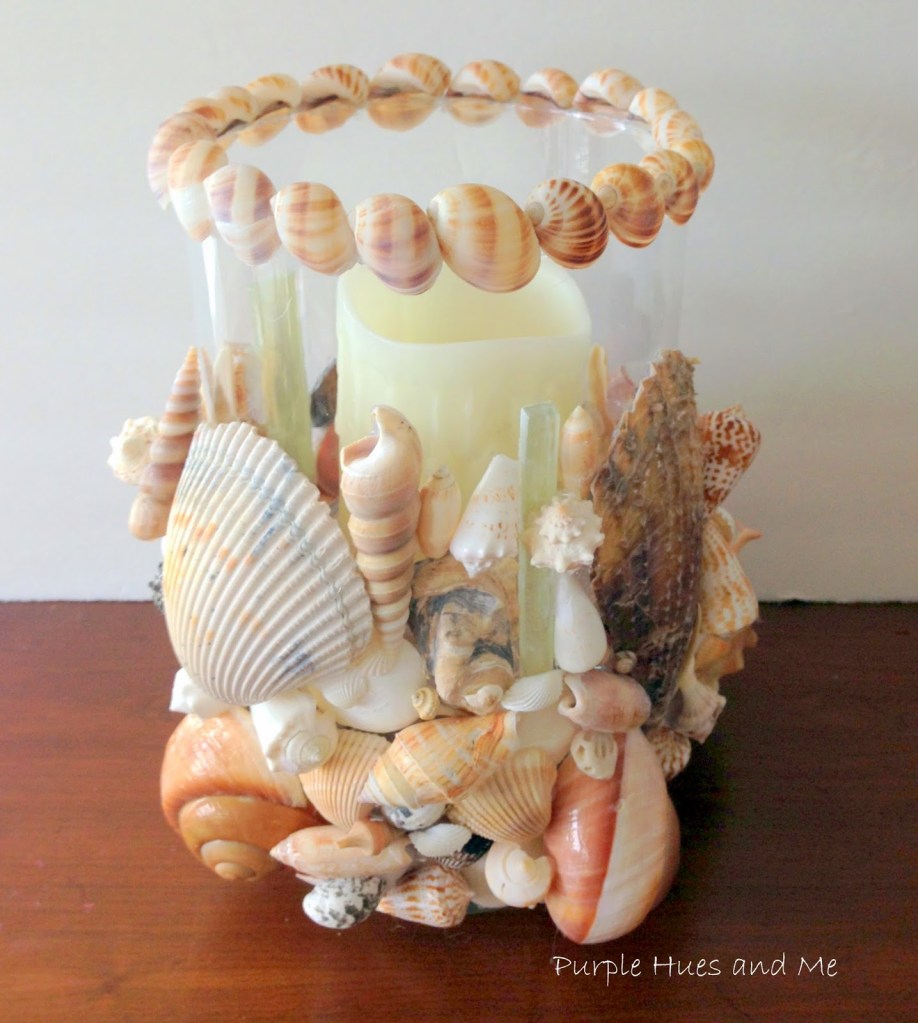
Shell Candle Holders:
1. Take a glass candle holder or jar.
2. Glue small shells around the exterior in a pattern or randomly.
3. Place a candle inside and enjoy the coastal vibe.

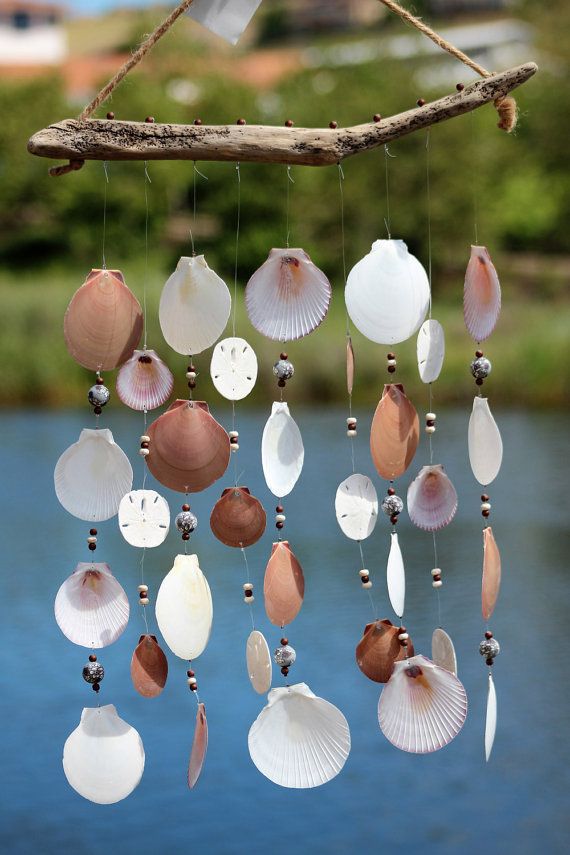
Shell Wind Chime:
1. Collect shells with natural holes or drill small holes in them.
2. Tie each shell to fishing line or thin string.
3. Attach the strings to a piece of driftwood or a wooden hoop.
4. Hang in a breezy spot.

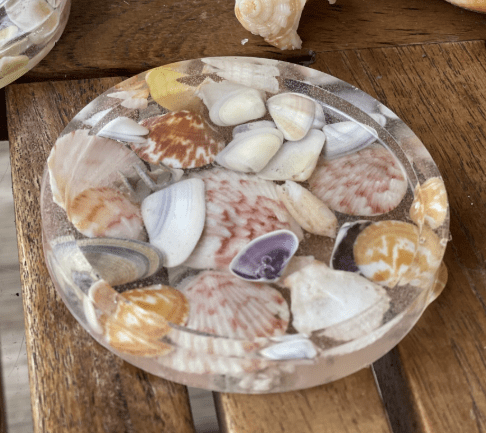
Shell Coasters:
1. Mix resin according to package instructions.
2. Pour a thin layer into a coaster mould.
3. Arrange small shells in the resin.
4. Pour another layer of resin on top and let it cure.

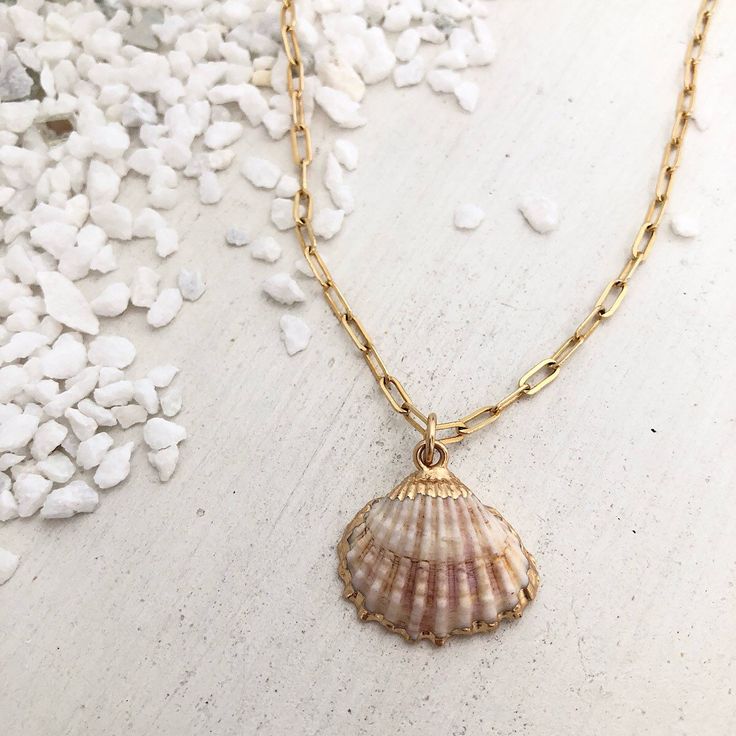
Shell Pendant Necklace
1. Add a clasp if needed.
2. Choose a medium-sized shell.
3. Drill a small hole near the top.
4. String the shell onto a leather cord or chain.

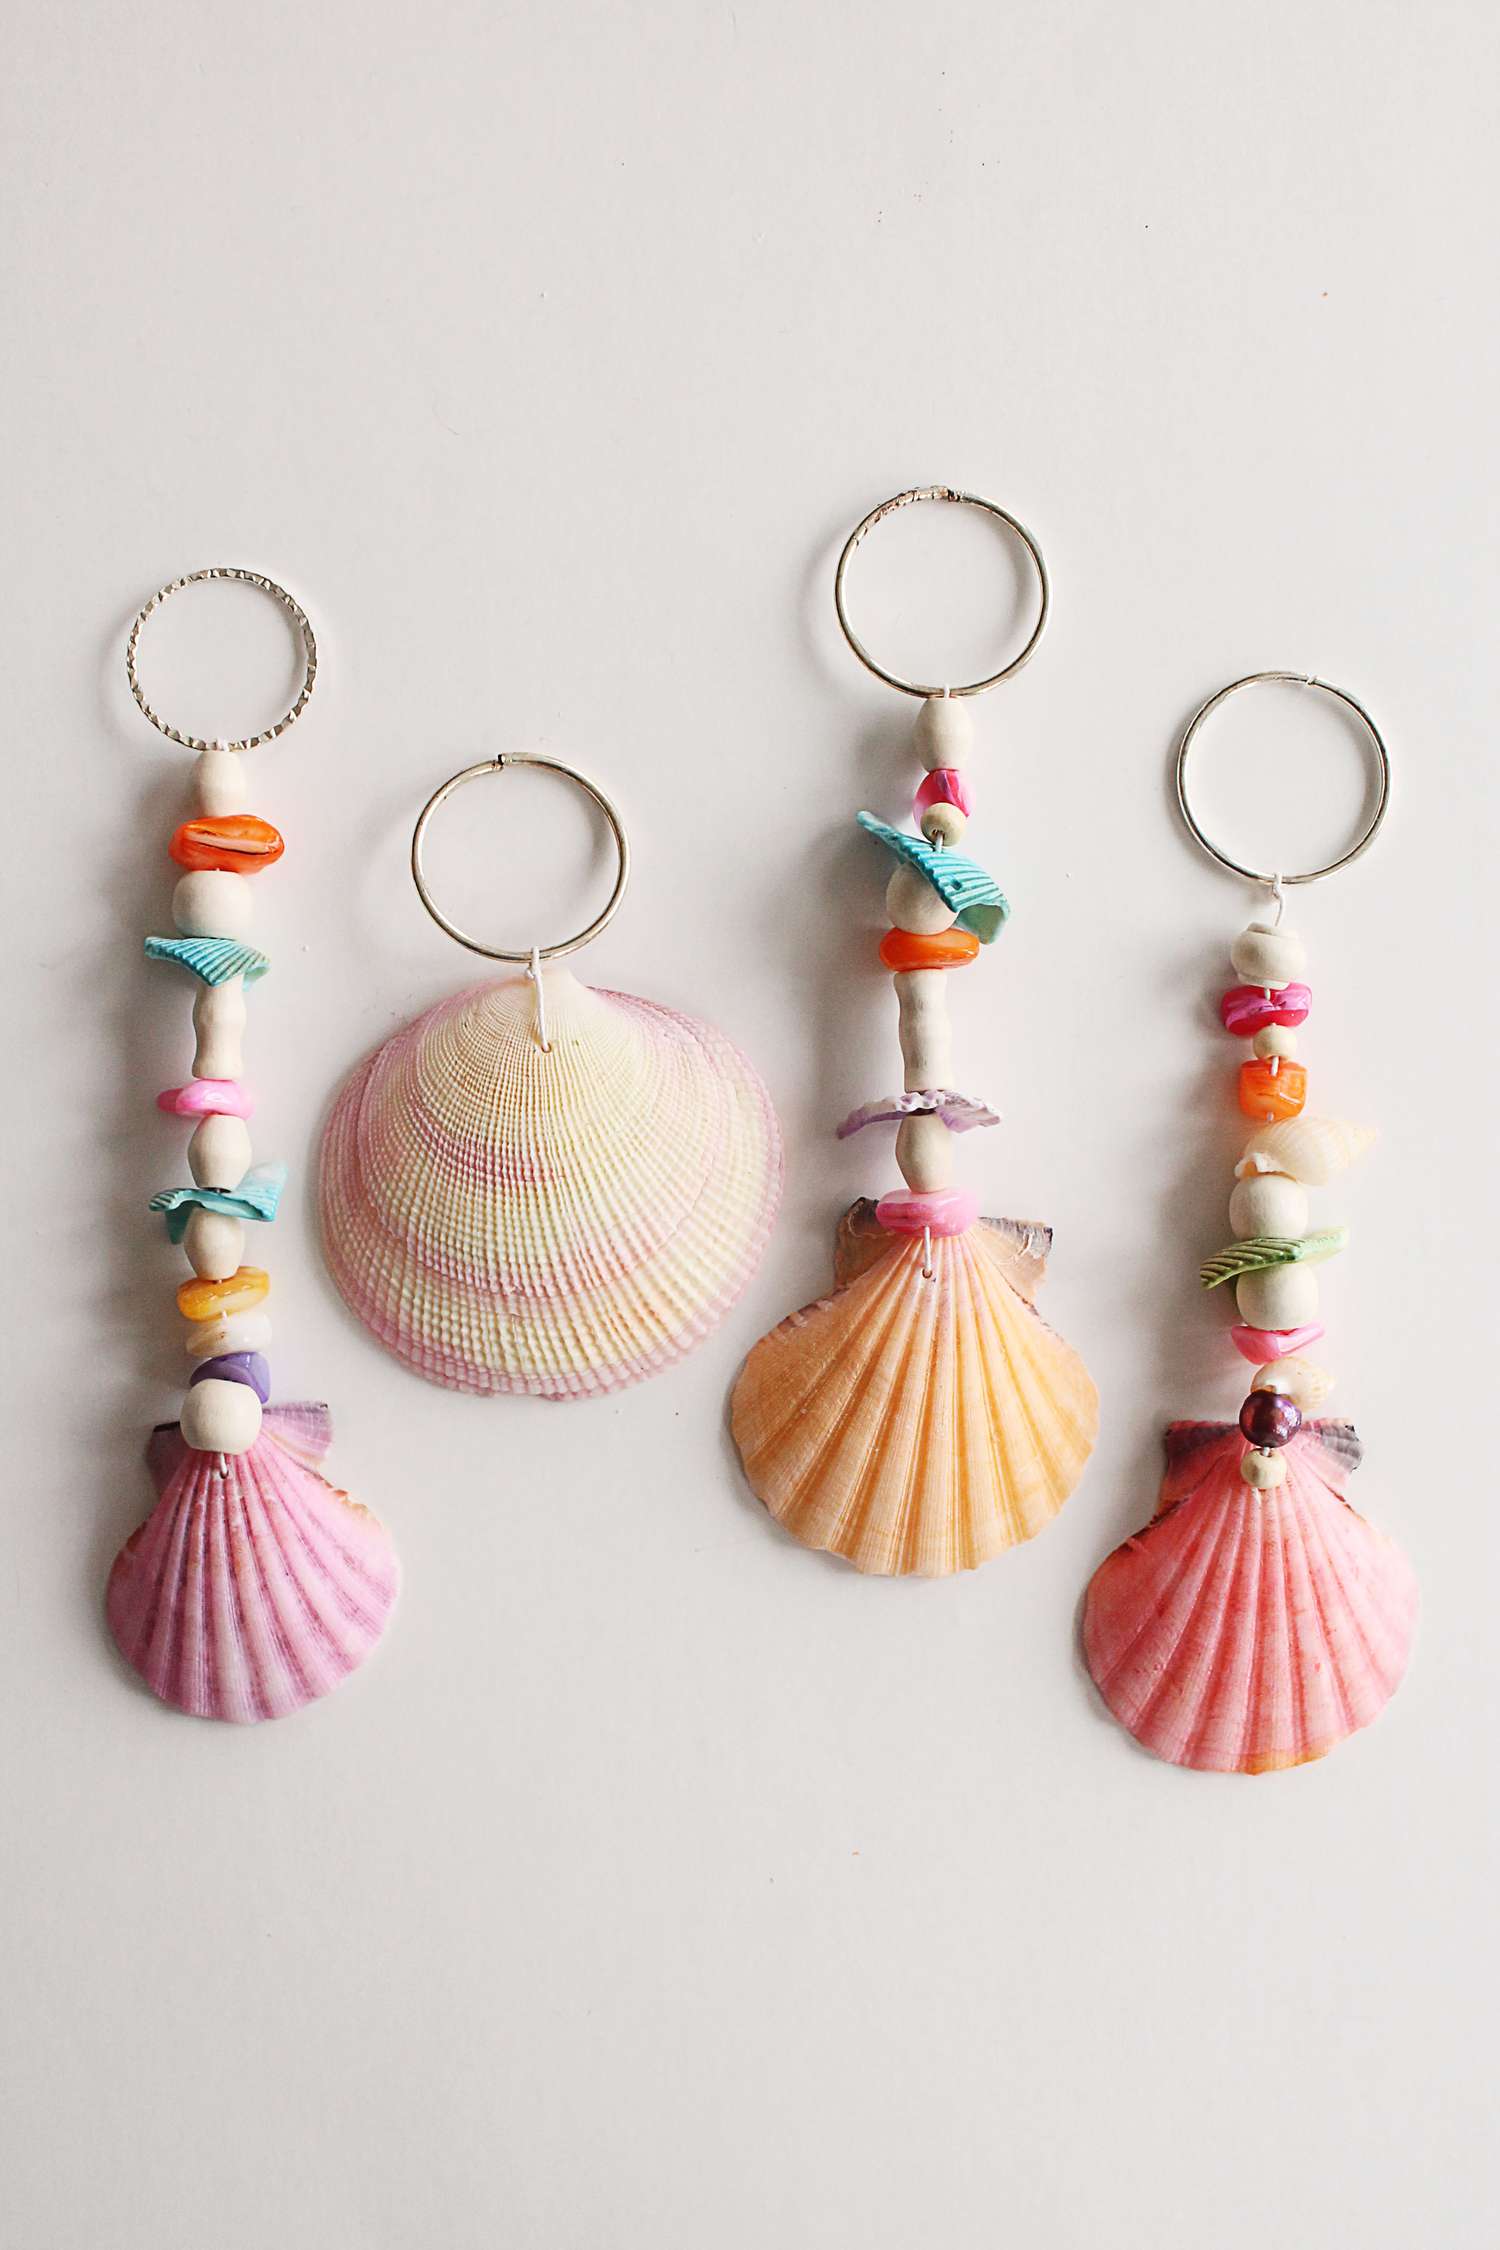
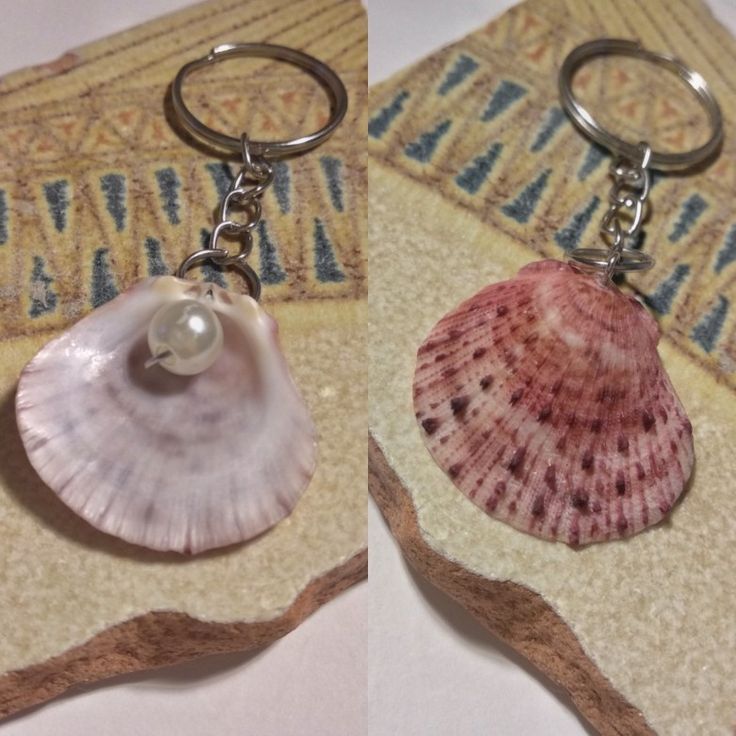
Shell Keychain:
1. Drill a hole in a small shell.
2. Attach to a keyring with a jump ring.
3. Add beads for extra decoration.

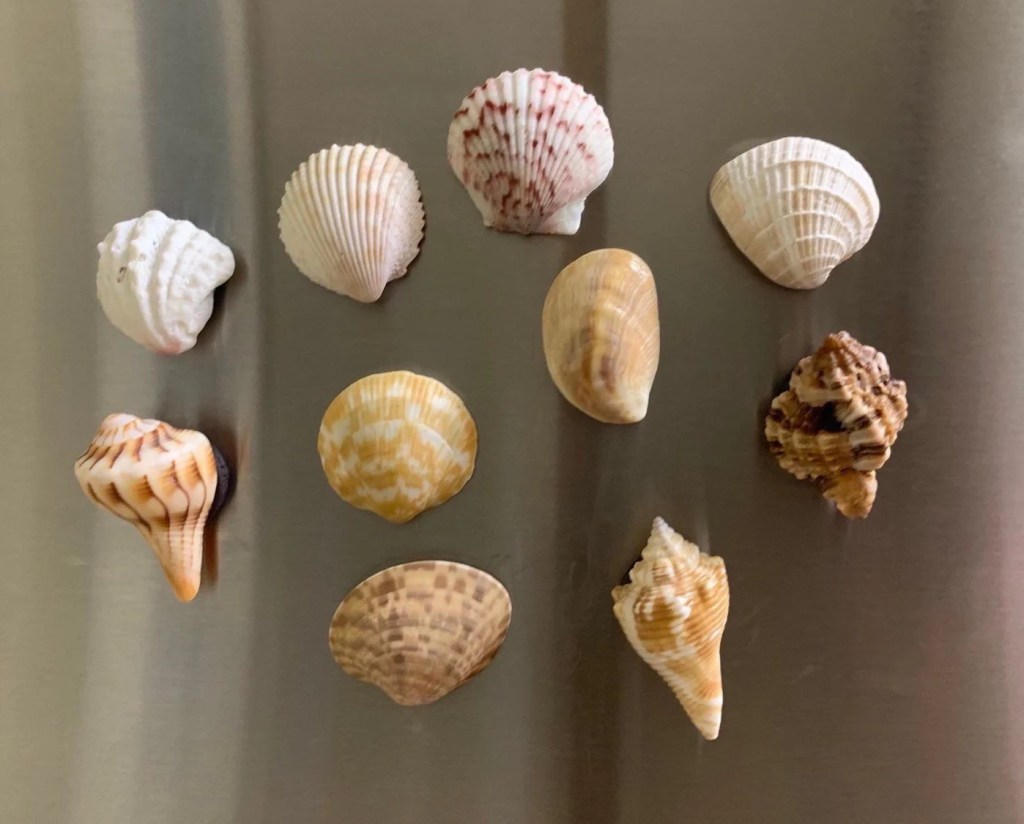
Shell Magnets:
1. Choose small, flat shells.
2. Glue a small magnet to the back.
3. Let it dry and use on your fridge.

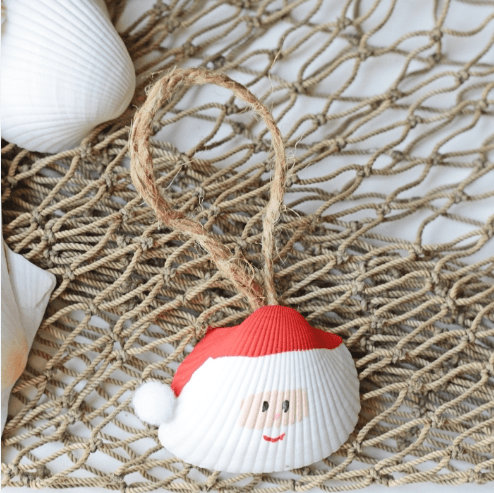
Shell Christmas Ornaments:
1. Drill a small hole in the top of each shell.
2. Thread ribbon through and tie a loop.
3. Optional: Paint shells in festive colours.


Shell Trinket Trays:
1. Select a large shell, like a clam or scallop.
2. Paint the insides with patterns of your choice.
3. Use to store small jewellery or keys.

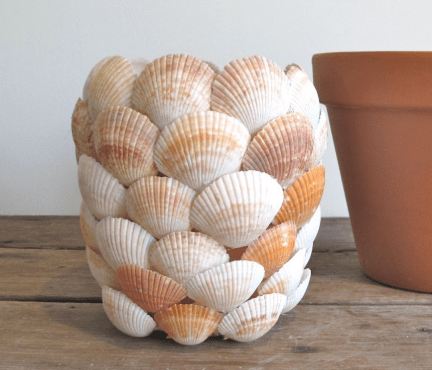
Seashell Planter:
1. Gather a mixture of your favourite shells.
2. Carefully glue each shell to the outside of the pot, try not to leave any gaps.
3. Fill the pot with soil and a new plant!

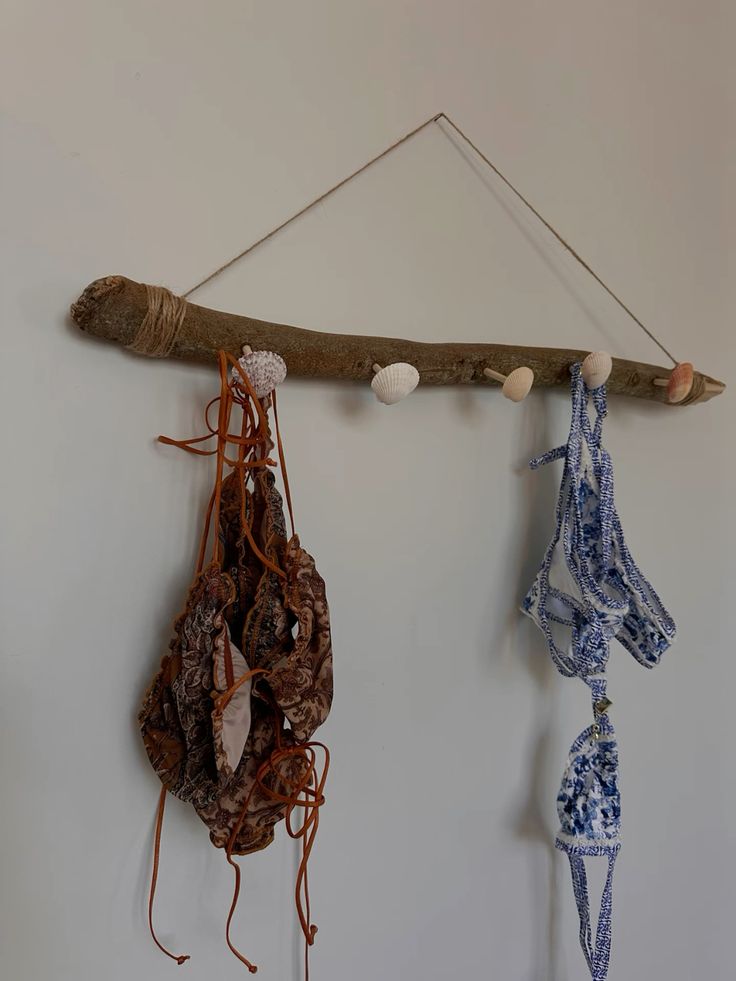
Seashell Bikini Hanger:
1. Find a smooth stick and wrap one end with twine for decoration, securing it with glue.
2. Insert small pieces of wood into the stick as pegs. Glue a shell onto each peg to create hooks.
3. Attach Hanging String: Tie a piece of string to both ends of the stick, then hang it on the wall.
4. Start hanging your swimmers!

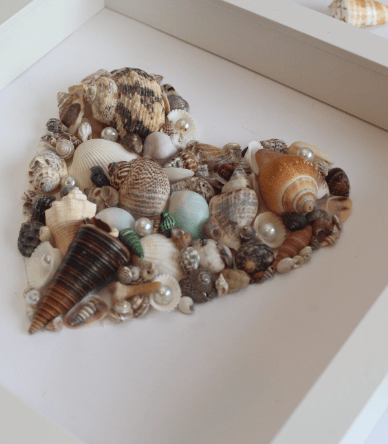
Seashell Artworks:
1. Take a shadow box or deep photo frame and remove the glass if necessary. Ensure the background is clean and secure.
2. Place your shells in the shape of a heart (or any design you prefer) on the frame’s backing. Adjust until you’re happy with the layout.
3. Use a strong adhesive or hot glue to attach the shells to the background. Let it dry completely before reassembling the frame.


Seashell Beachbag:
1. Select a large beach bag that fits all your summer essentials.
2. Lay out your favourite shells in a fun design.
3. Use a strong adhesive or hot glue to attach the shells to the bag.
4. Pack your sunscreen and head down to the beach!

Seashell Stamped Tea towels:
1. Find your favourite tea towel with a simple design.
2. Select your shell of choice for your patterning.
3. Dip the shell into a fabric paint of your choice and press firmly onto the tea towel.
4. Allow the tea towel to dry.


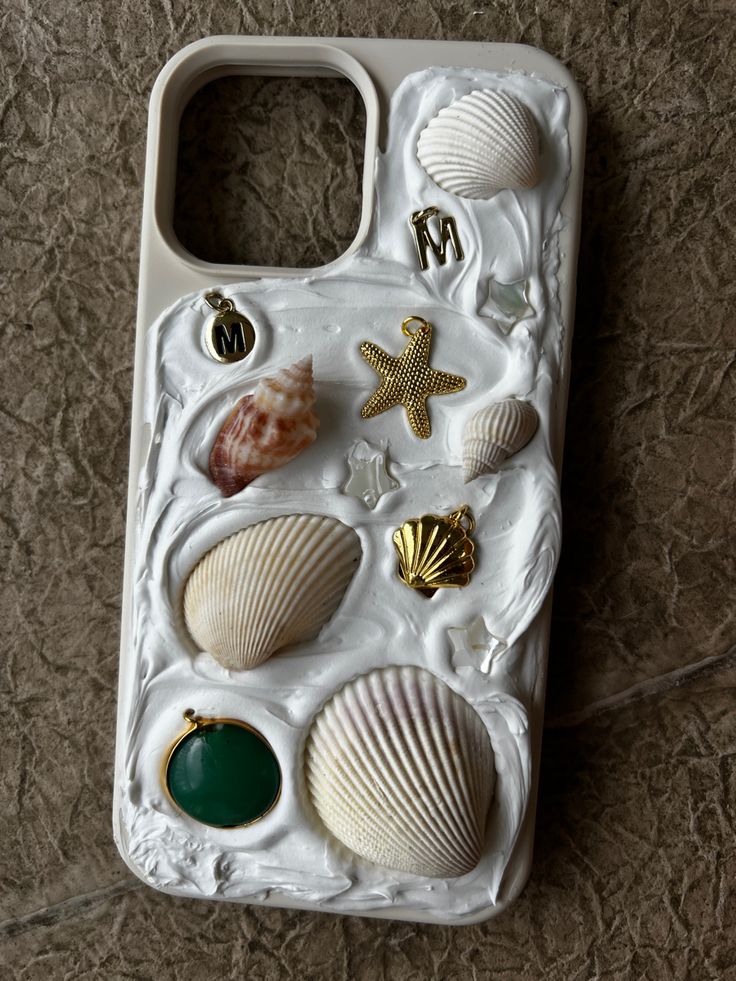
Shell Phone Cases:
1. Find a neutral tone smooth phone case that fits your phone.
2. Lay out your shells against the case in your designed pattern. Remove once you have planned your pattern.
3. Gently smooth white plaster over the back surface of the case.
4. Press the shells into the plaster while it is still wet in your desired pattern.

Seashell Drink Stir Sticks:
1. Apply a small amount of adhesive to the base of a seashell and press it firmly onto the top of a stir stick. Hold for a few seconds to secure.
2. Allow the glue to dry completely according to the adhesive instructions to ensure the shell is firmly attached.
3. Stir your favourite mocktails with your stylish seashell drink stir sticks and enjoy!


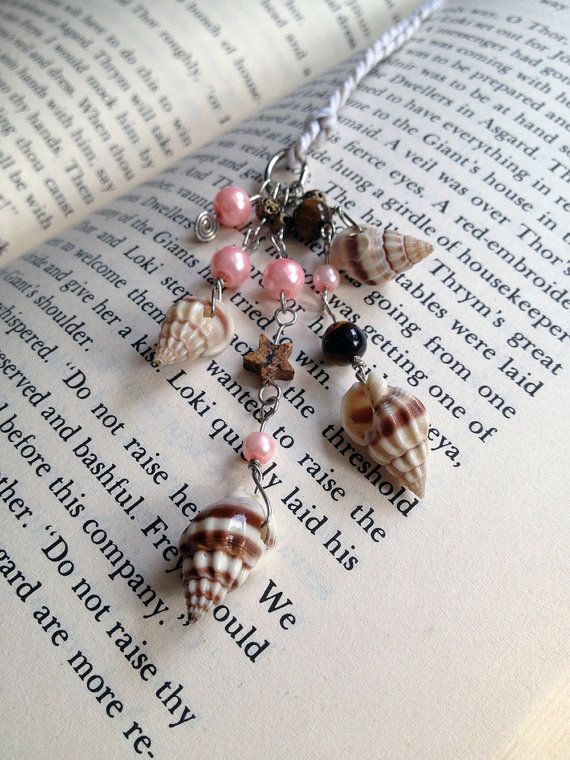
Shell Bookmark Charms:
1. Apply a small dab of adhesive to the back of a seashell and press it onto one end of a ribbon or string. Let it dry completely.
2. Decorate the String: Optionally, tie knots or add beads to the ribbon/string for extra charm and weight.
3. Place the ribbon in your book, letting the seashell dangle stylishly outside as a charm.

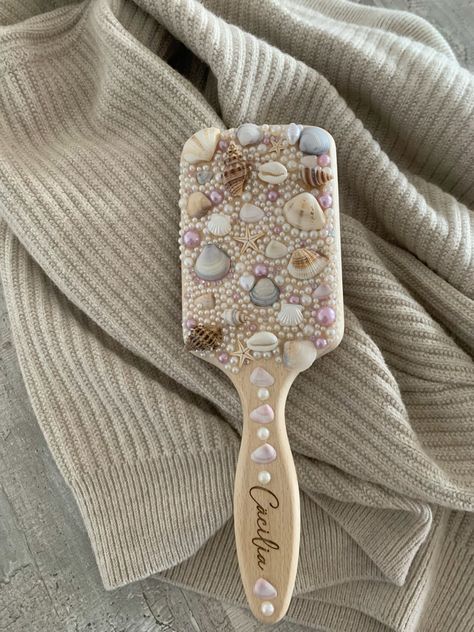
DIY Shell-Covered Hairbrush:
1.Plan the layout of the shells on the back of the hairbrush, fitting them like a puzzle for full coverage.
2. Apply adhesive to the back of each shell and press them onto the hairbrush, starting from the edges and working inward.
3. Allow the adhesive to dry completely before using the hairbrush to ensure the shells stay secure.


DIY Shell Jibbitz:
1. Select your favourite small shells to use as Jibbitz on your shoes.
2. Attach the specialized plastic charms to the backs of each shell using a strong adhesive.
3. Allow the adhesive to dry completely before decorating your shoes to ensure the shells stay secure.

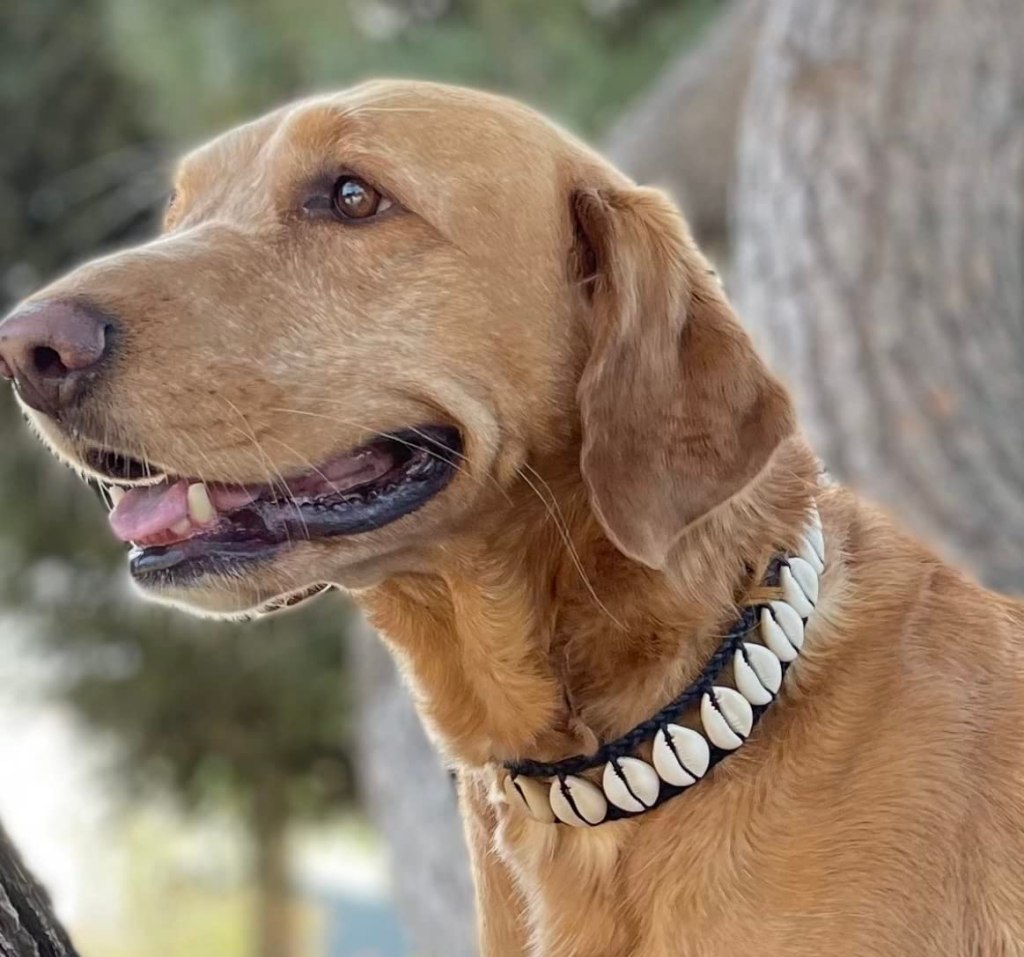
Seashell Dog Collar:
1. Apply a small amount of adhesive to the back of each seashell and press them onto the collar, spacing them evenly or creating a pattern.
2. Hold each shell in place for a few seconds to ensure it adheres securely. Allow the glue to dry completely per the adhesive instructions.
3. Once dry, place the collar on your pet for a beach-inspired look.
Whether you’re looking to brighten up your space, surprise a friend with a thoughtful gift, or simply have fun, these 20 DIY craft ideas are the perfect place to start. So, roll up your sleeves, get inspired, and transform your ideas into tangible, one-of-a-kind creations. Who knew that with a little creativity and a few simple materials, you could make something that’s both functional and fabulous?

Leave a comment